1. Go to your Weply account
2. Click on Reporting
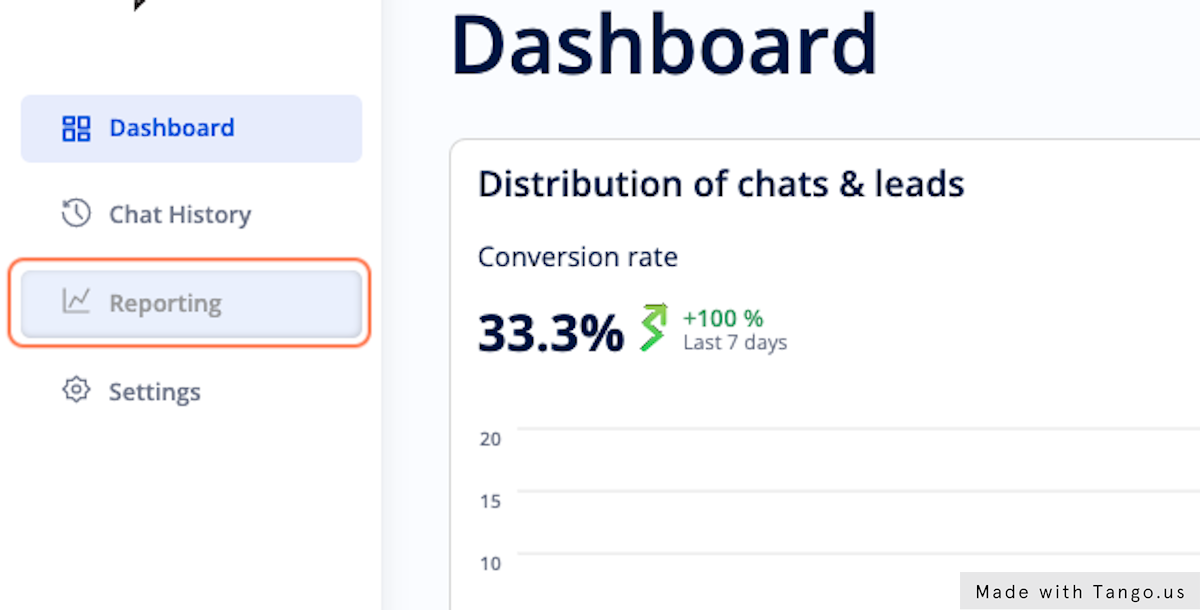
3. This is the reporting window
On the menu to the right, you can select the relevant metrics you need. The table will expand according to your choices.
For Analyst Pro users, you can select the date range you want from the calendar.

4. Click on Apply when you have updated the metrics you want to view

5. Exporting the report to an Excel (.xlxs) file is possible for Analyst Pro users.
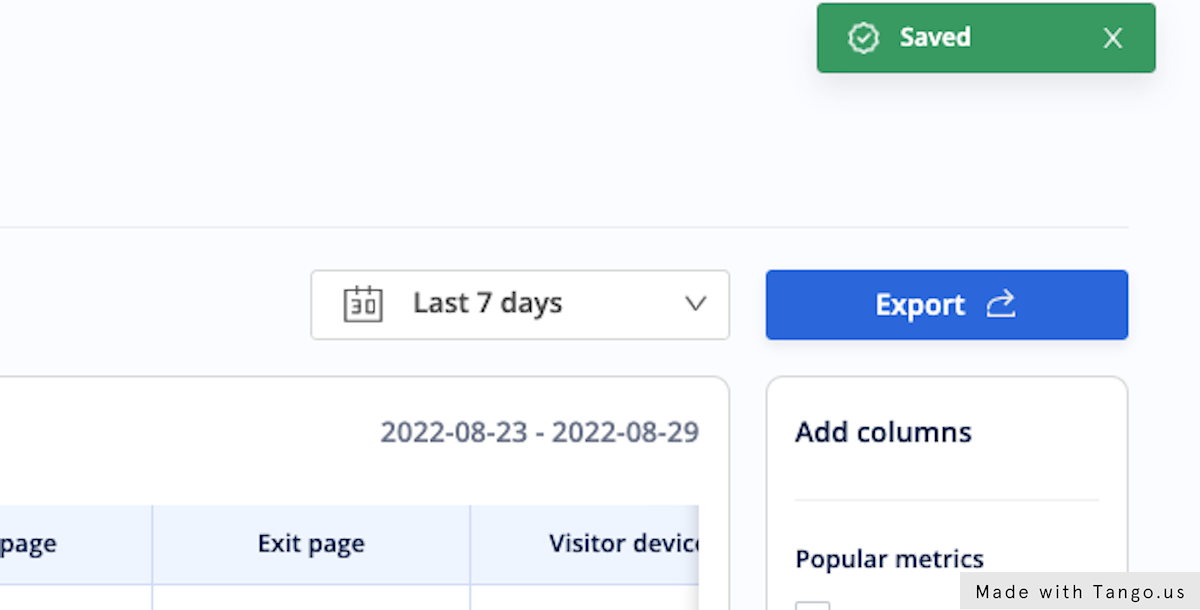
6. Confirm the date range and click Create export to generate a downloadable file

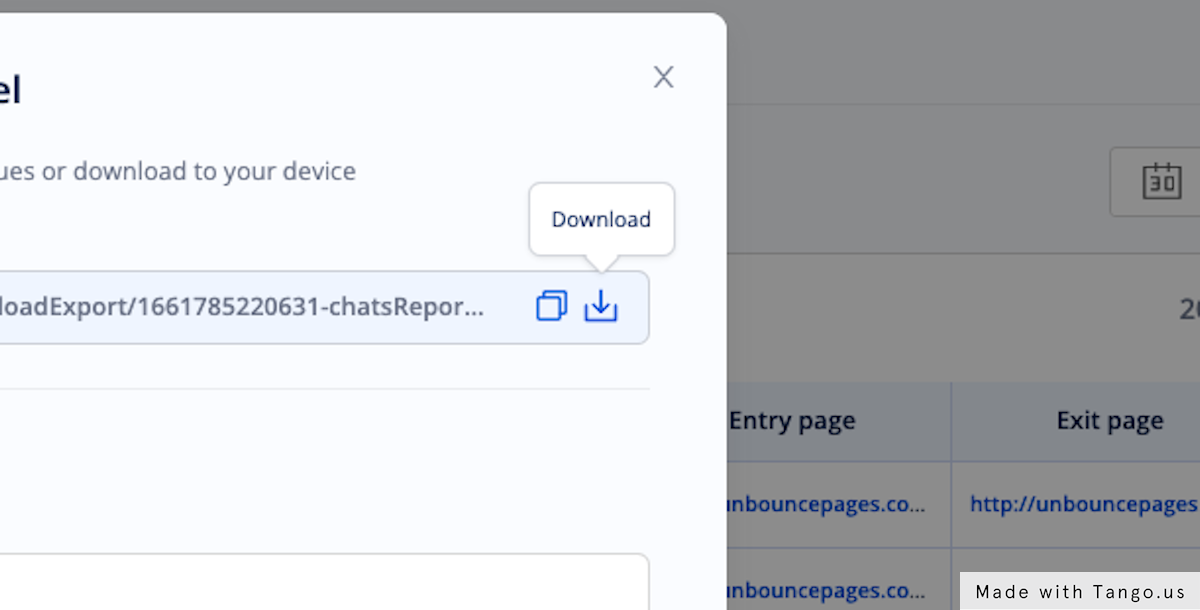
7. Click the download button by the Document Link to download directly to your device
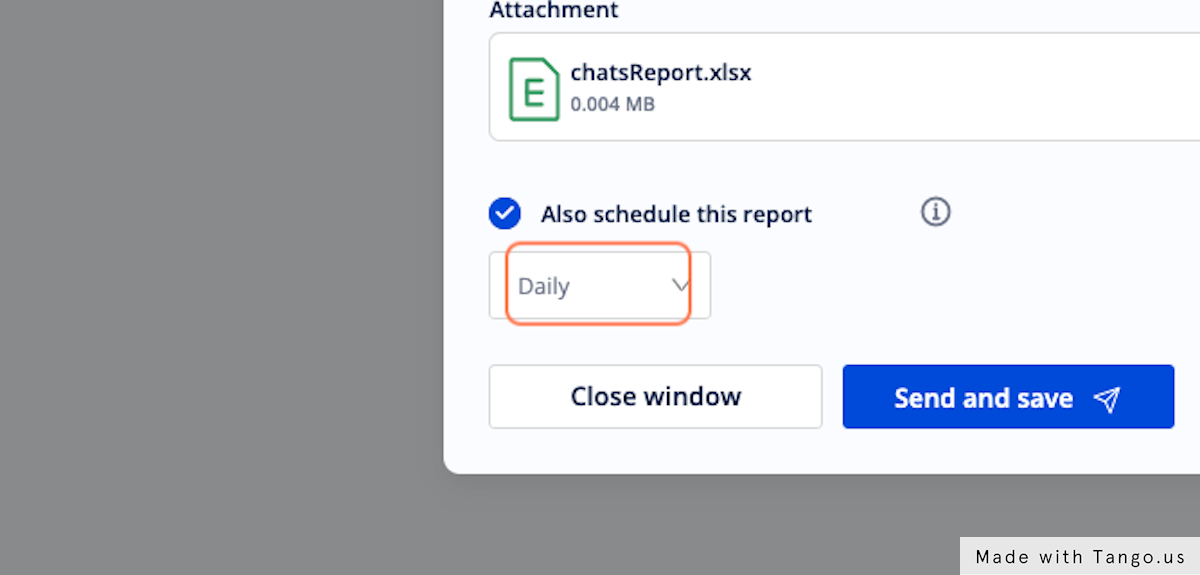
8. If you'd like to receive the same report regularly, click on Also schedule this report

9. Choose how often you want to receive the repot
10. Create a subject line for the e-mail you will receive with the report to identify it

11. Click on Send and save to e-mail the report to yourself and save your settings to schedule it
