Install Weply using Google Tag Manager
Updated:
September 1, 2022
Before you start:
Before you follow these steps, be sure to have the following things ready:
- Chat integration script
1. Go to Google Tag Manager
Select the Workspace where the chat should go.
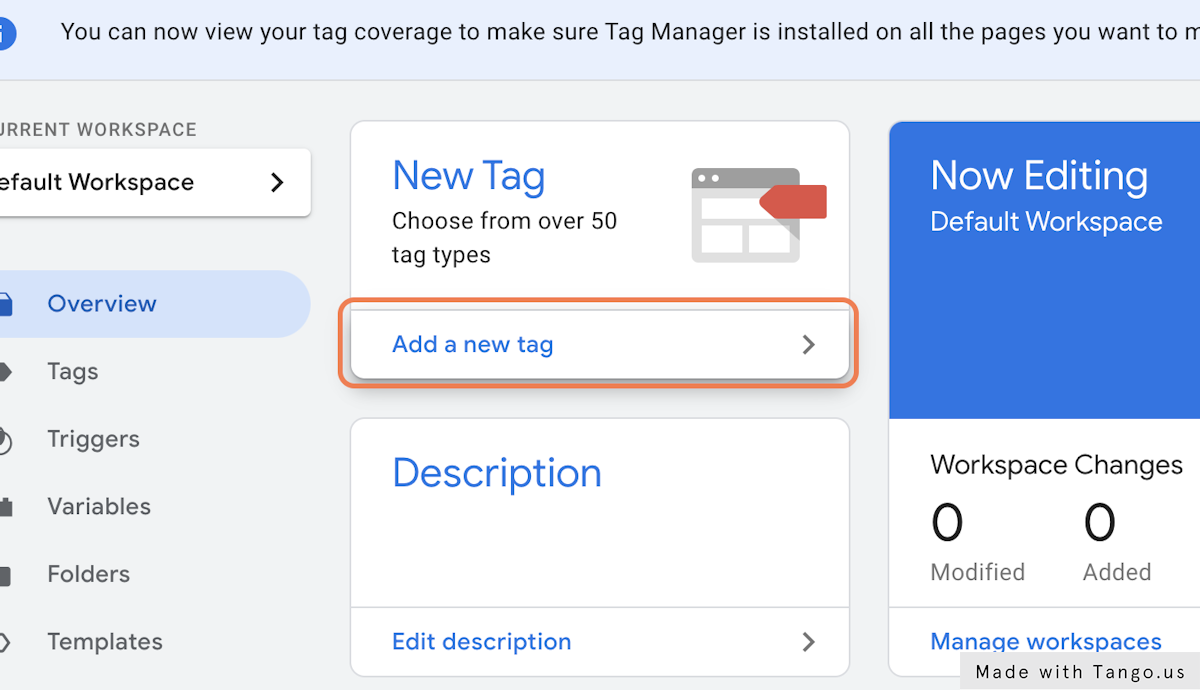
2. Click on Add a new tag
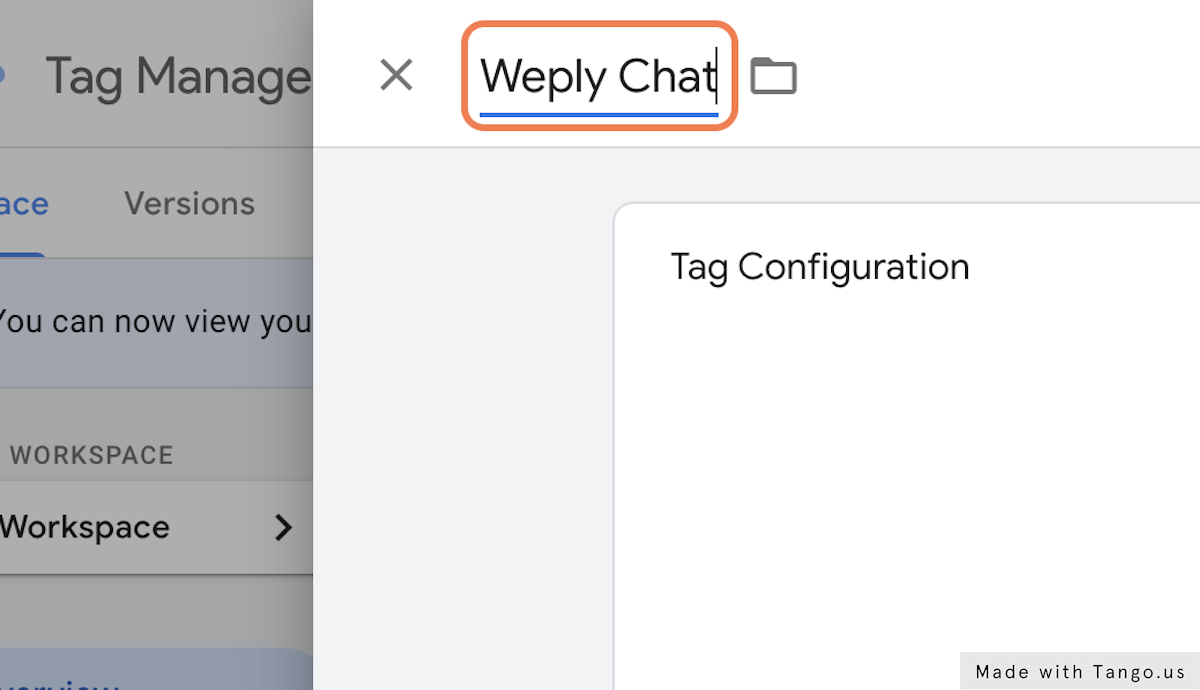
3. Type in a name
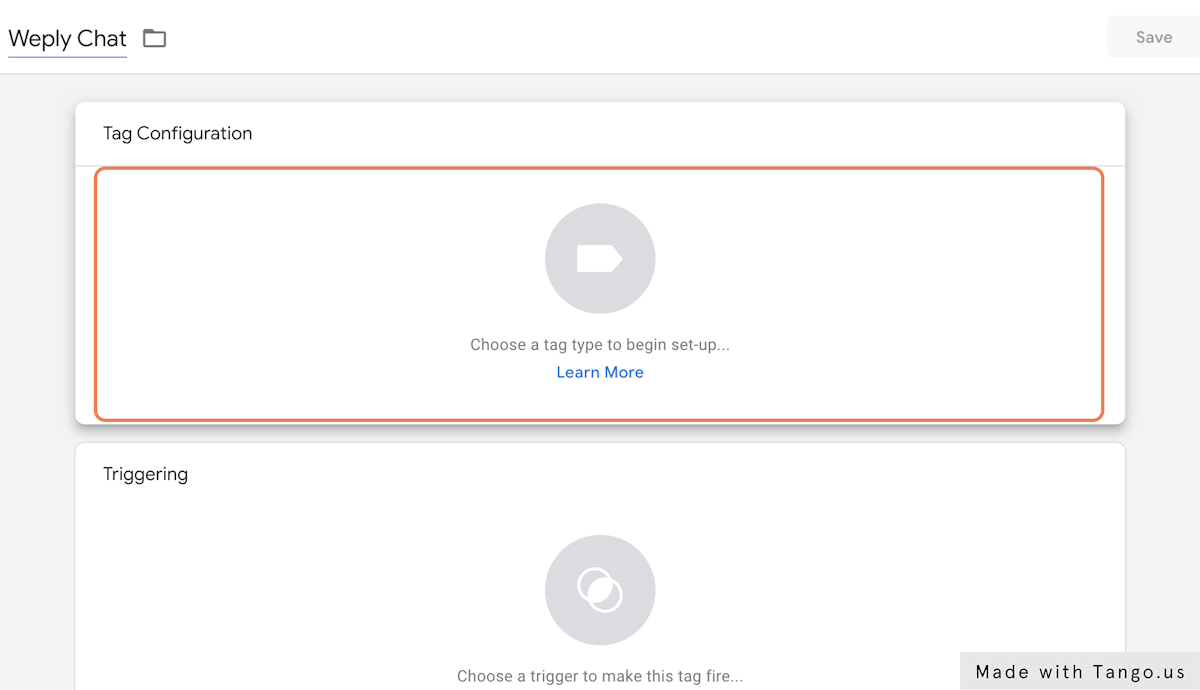
4. Click on Tag Configuration
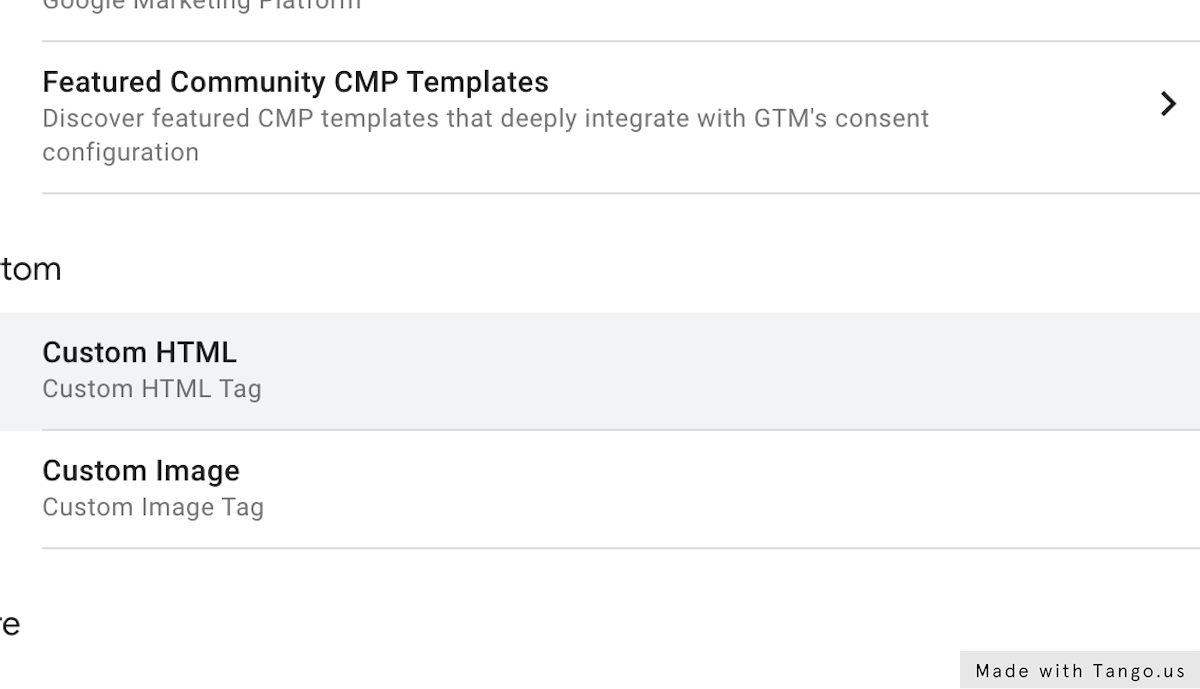
5. Click on Custom HTML
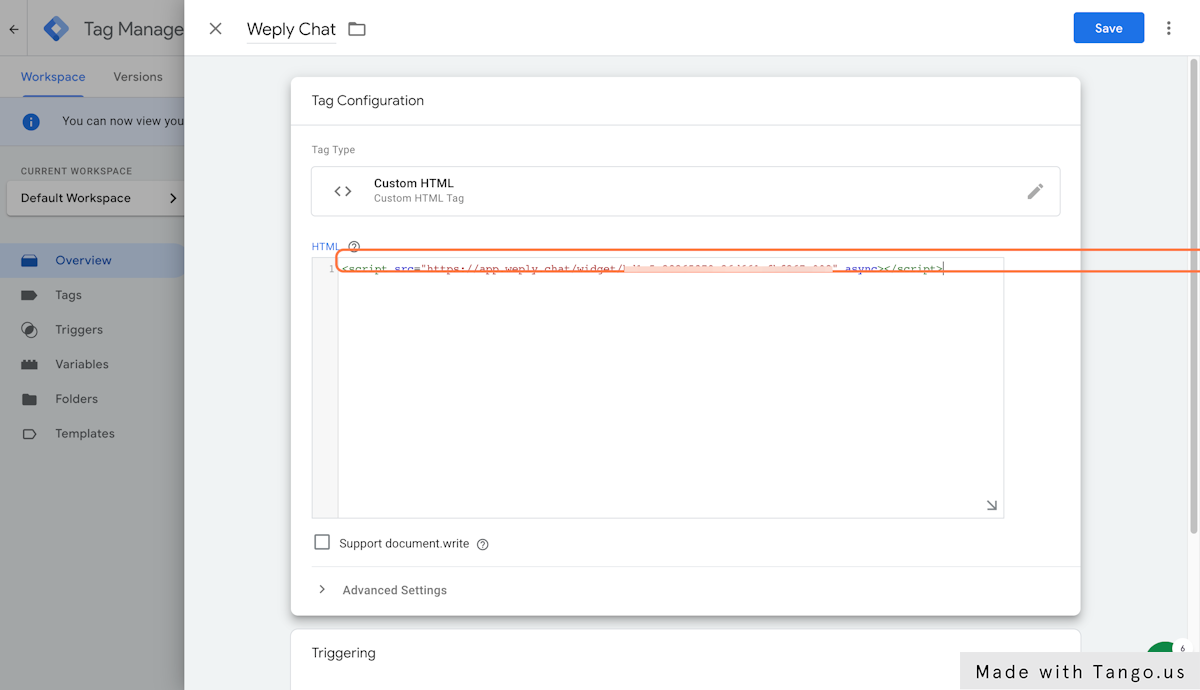
6. Paste your Weply Chat integration code
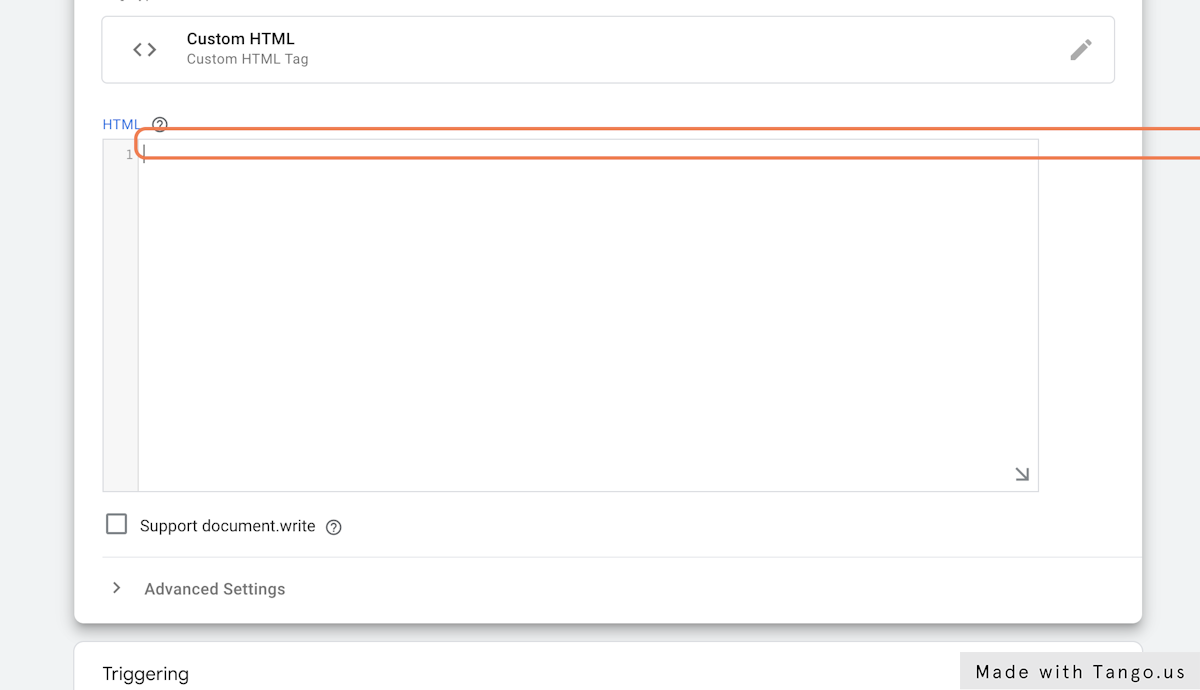
7. Paste your Weply integration code into text area
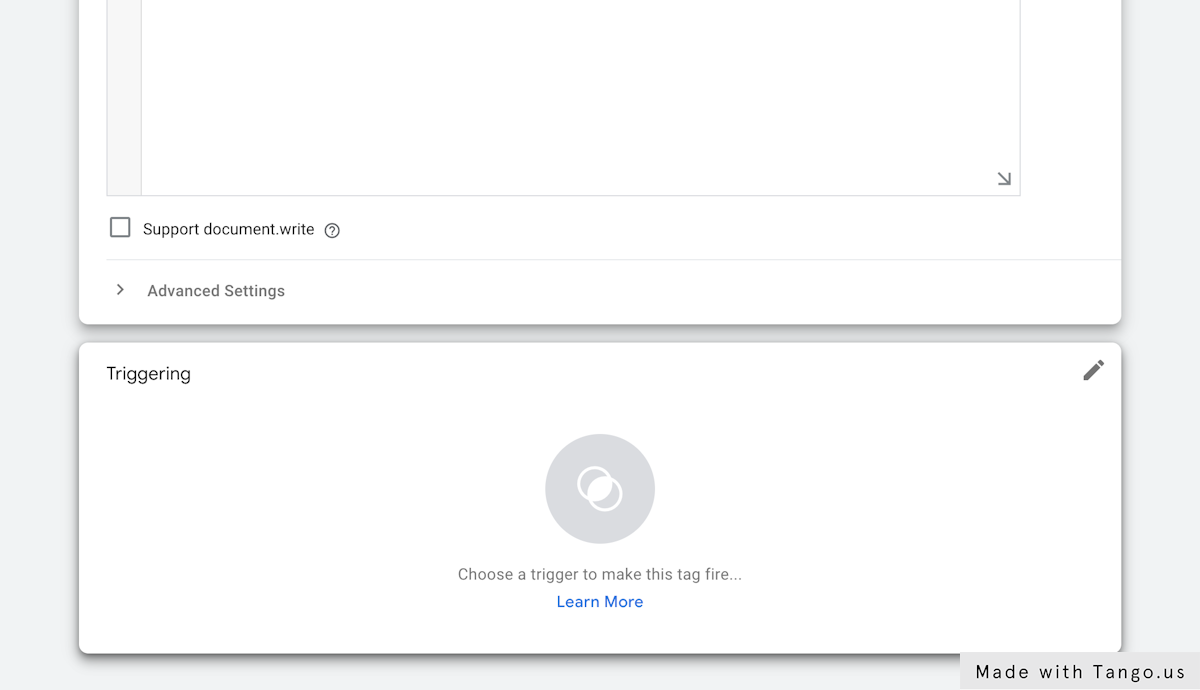
8. Click on Triggering
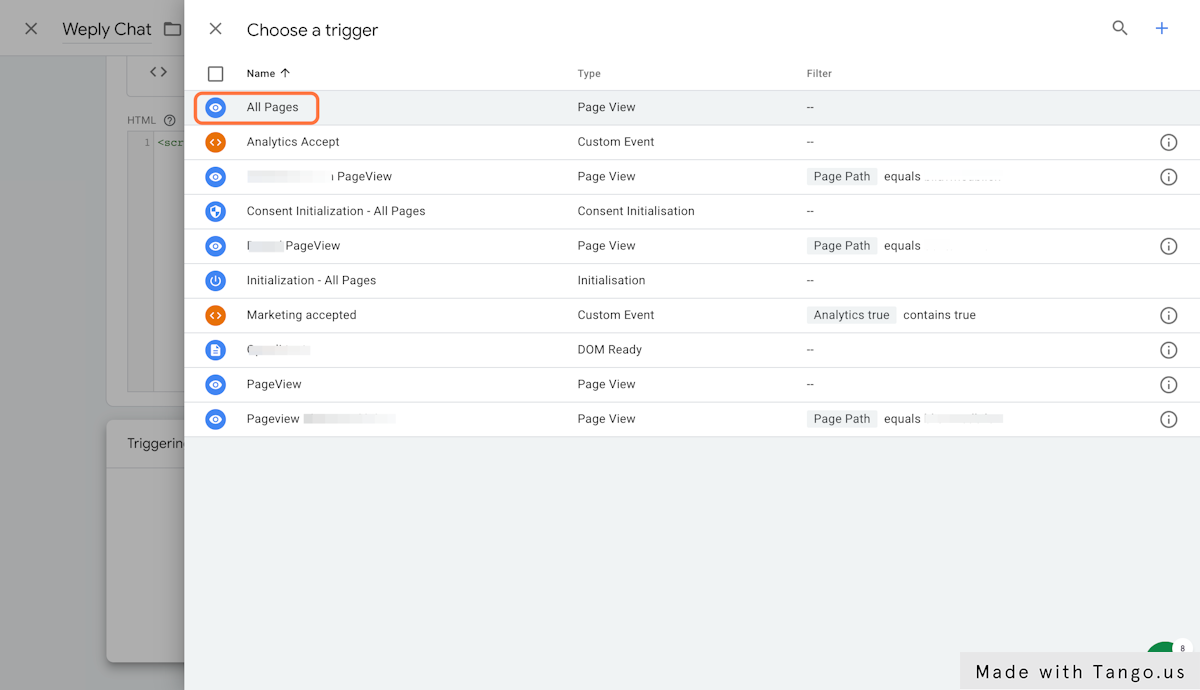
9. Click on All Pages
As a default, we suggest the trigger All Pages.
10. Click on Save
11. Publish your changes
Can't see your chat?
- Remember to clear your cache! In some cases, your website may not update immediately and has a 'clear cache' function.
- Browsers also keep a cache of websites. You may need to clear the cache on the browser you're using.
Here are some guides on how to do so: Google, Safari, Microsoft Edge - Did you install the chat onto a staging server? Maybe the chat isn't set up to be shown on your staging server due to URL restrictions. In that case, contact support.
- If none of the above worked, contact support.
What’s next?
- Make sure that you are getting email notifications from Weply so you do not miss any potential customers.
Here's how you set that up on Apple iOS and Android. - Push chat events to your Google Analytics account to get a better overview of the customer journey.
